
Chocolate lovers gather around! Curb your chocolate craving with this Double Chocolate Drop Cookies recipe.
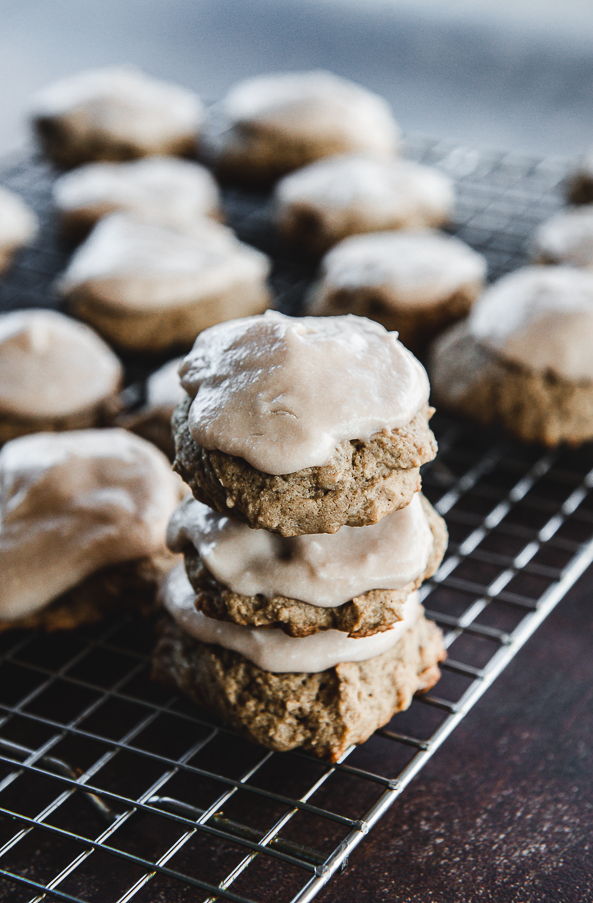
I have one kid who doesn’t like chocolate, especially chocolate cookies. I don’t get it, honestly. I’m one of those people who craves a rich, chocolate flavor in baked goods. I like vanilla and caramel, but chocolate is where it’s at for me. That’s why I set out to make a really solid chocolate cookie recipe!
These Double Chocolate Drop Cookies came into my life during the holiday season. I was tired of all the traditional Christmas cookies and wanted a different recipe. One that made a delicious cookie, but with chocolate as the star flavor….